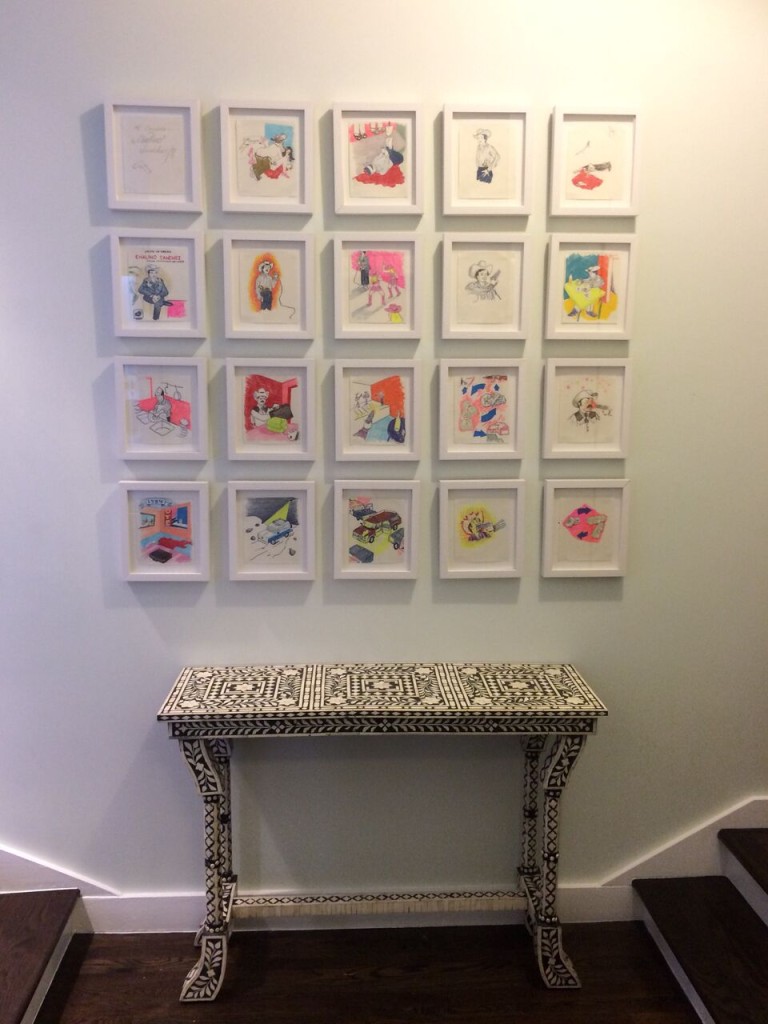
One of the many benefits of having a picture or work of art custom-framed is the attention to not only just the front of the frame and the look of the finished product, but the back of the frame and the preservation of the art. The pros know that taking a few extra steps on the back of a picture frame can help protect the work inside for years to come.
But what if you’re doing your framing yourself? It is still possible to get professional-quality picture preservation by putting a dust cover backing on your picture frames. Better still: it’s easier than it sounds.

What You’ll Need:
- ATG tape or other acid-free double sided tape
- A roll of kraft paper
- A razor blade or utility knife
- Picture hanging hardware
- Frame bumpers
How It’s Done:
Step 1: Place your framed photo face down on a clean surface.
Step 2: Apply double sided tape to the back edges of the frame, making sure to cover the entire perimeter.
Step 3: Cut a length of kraft paper that’s at least 6 inches larger than the frame on all sides.
Step 4: Adhere the kraft paper onto the back of the picture frame, allowing excess paper to hang over the edges. Press firmly along the edges to ensure the paper sticks.
Step 5: Using the razor blade, carefully trim the excess kraft paper from the edges of the frame.
Step 6: Screw picture hanging hardware into the desired place on the back of the frame.
Step 7: Last but not least, attach a foam picture frame bumper to each corner of the frame. This allows for air flow between the picture and the wall, and prevents the buildup of moisture and dust.
That’s it! You know have a professionally sealed picture frame.
Need help hanging your newly framed art? Get in touch with ILevel at info@ilevel.biz.