
Whether you’ve just moved into a new home or apartment, or you’ve finally found a few pieces worthy of that last bare wall in your home, deciding how to arrange art on your walls–what room it goes in, how high to hang it, which piece it should go next to–can be a tough task to nail (no pun intended).
Blank walls are full of possibilities, but they can also be intimidating, since hanging art without careful consideration can lead to less than desirable results. The key to getting the look you want: planning.
Lyle, one of our hanging professionals, offers a step-by-step overview of how to arrange art on your walls.
1. Know what you’re working with. Measure the wall height and width, taking note of any obstacles, special features or fixtures.
2. Arrange on the floor first. Find a spot on a nearby floor with the approximate dimensions of your wall to start laying out an arrangement there first.
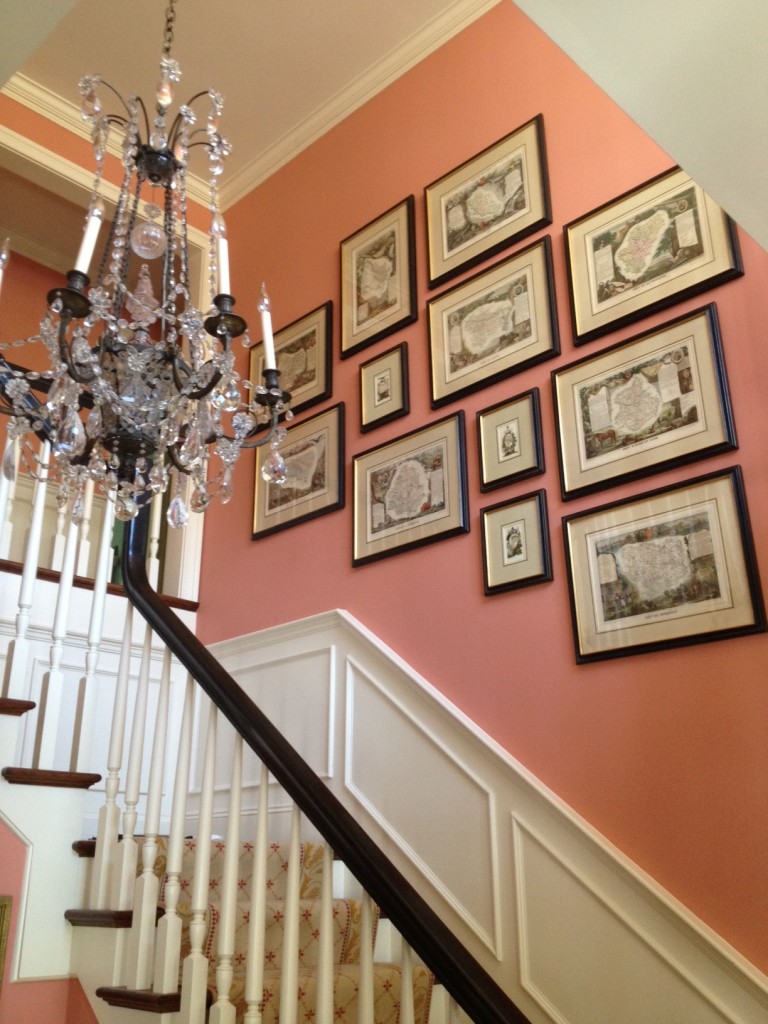
3. Begin with the big stuff. Start by finding the best spot for the large, key pieces, and then add the small works around it, rearranging until you have something that works together and fits the wall. Try for balance in color, shape, texture, density and image.
4. Measure, measure, measure. Using a tape measure, very carefully adjust the arrangement to get the overall dimensions. Pay particular attention to the amount of space between the pictures and try to achieve regular spacing, with evenly distributed open spaces.
5. Get a photo. Take a picture of the arrangement on the floor for reference, and draw a rough sketch outlining the spaces between objects.
6. Put ’em up! Or call ILevel.