There’s nothing worse than spending 15 minutes hanging a picture, only to realize that, once you step back a few feet, it’s off center, too high, too low, etc. Now, not only do you have to go through the entire process over again, but there are a few extra holes in your wall, too.
If you’ve ever experienced this scenario and would rather it not happen again, there are two key tricks that will change the way you hang wall art, and ensure you always do it right the first time. Check them out, below.

1. Make a copy.
If you have a hard time visualizing how art will look when it’s hung or deciding how to arrange a gallery wall, consider this ingenious tip: make a photocopy of each piece you plan to hang, arrange them on the wall, and then nail the real pictures in directly on top of the photocopies. If you have a work that’s too large to copy, trace it onto a large roll of craft paper instead.
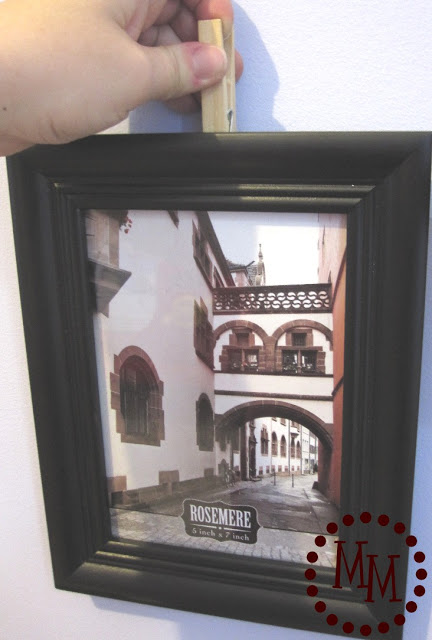
2. Create a nail marker.
One of the trickier things about hanging wall art is figuring out how to factor in the placement of the hardware on the back of the picture. You can use a ruler to measure the space between the top of the art and the top of the wall bracket or art wire, but even that can be inaccurate. There’s a better (and far easier way) to figure out how far down to make the hole in your wall. Use the ruler trick. Basically, you hammer a nail into a ruler, hang your art from the nail, and press the end of the nail into the wall to create a marker for where to hang the piece. Here’s a wonderful, detailed description (with pictures!) on how to do it.
Happy hanging!