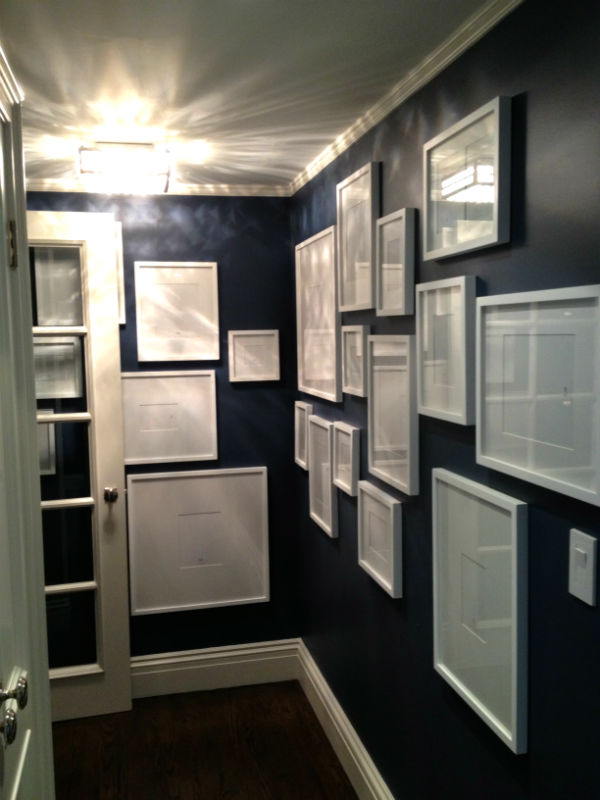
Installing a gallery wall in your home is a great way to impart your personality on your space…mostly because gallery walls come with limitless possibilities: you can hang art, photos, or a combination of both, plus you can choose the style of the frames you use, whether or not they match, and the way the wall is arranged. With free reign, you can truly create a wall that represents your style and what you love.
Still, there are some guidelines that should be followed to ensure that the finished product is everything you wanted it to be. Here’s a quick tutorial on how to plan a gallery wall.

1. Have a plan. Having a plan at all is half the battle. Decide whether you want your wall to look symmetrical, if you want the art in the frames to follow a theme or if you want to blend frame styles and sizes, for example. It’s also important to consider the color scheme of your room and whether or not you want the gallery wall to play off of it. Looking at photos on Houzz or Pinterest can be helpful in coming up with a concept. Choose a concrete vision and stick to it.
2. Lay the photos out. The most important step in creating your gallery wall it to lay the photos out before you hang them. Create different arrangements and play with spacing until you have something you like, and that will work in the amount of space you have. It’s a lot easier to move photos around on the floor than it is to move them around once you start hanging. Take a picture of the final arrangement on your phone or camera just in case. (Below is the layout we did before hanging the gallery wall pictured above).
3. Measure the arrangement. Once you have an arrangement you like, measure it from side-to-side and top-to-bottom. Then, measure out that same space out on your wall, and mark the borders lightly in pencil. This will give you a guideline to work off of when hanging. If you are after a perfectly symmetrical or evenly-spaced gallery wall, measure out and make pencil marks where the center of the top of each picture should be. (Or, if you prefer, mark the point where you want to put the nail for each picture, making sure to take into account where the hanging hardware is on your frames).
Once your plan is in place, you’re ready to start hanging!
Need some help creating a gallery wall? Get in touch! Contact ILevel here.