
When it comes to hanging art and pictures, the method you use will have a big impact on the safety, security, and permanence of the art, as well as the overall look. Before breaking out the hammer and nails, consider which of these 5 picture hanging techniques is truly best for your wall art.
1. D-Rings, art wire, and brackets. The most common and simple solution to hanging art is by suspending it from a D-ring, art wire, or bracket that’s attached to the back of the wall art, then hung from a nail on the wall. D-rings and the like are best for framed works, or creating a gallery wall. For heavy pieces, be sure to use multiple suspension points.
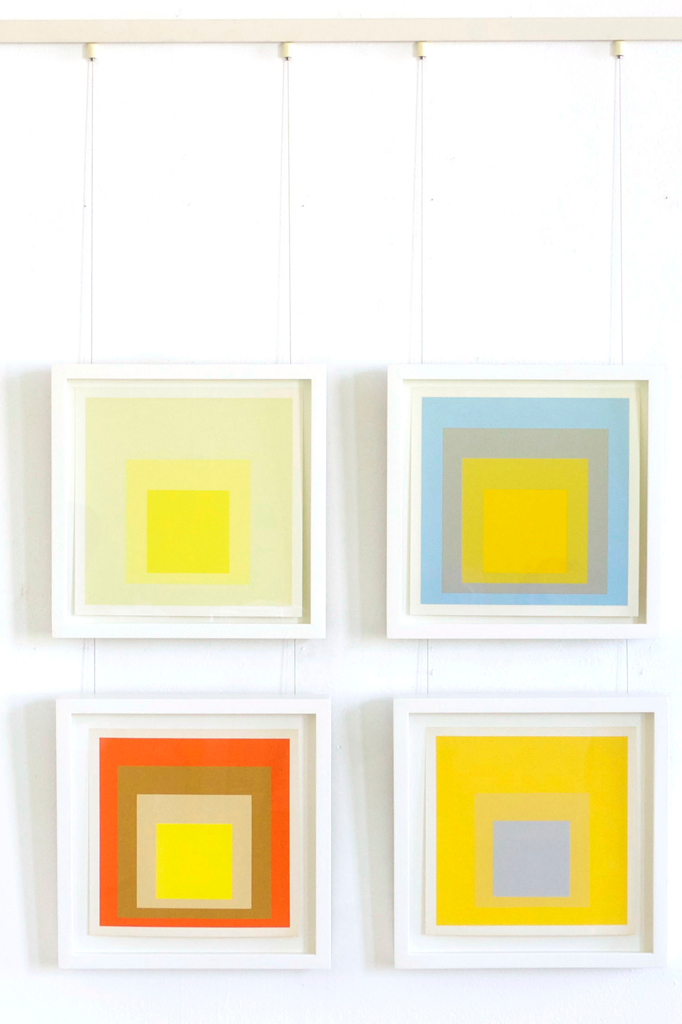
2. Wall Art Cable System. A wall art cable system is a unique approach that suspends artwork by wire cables from a track rail installed at the ceiling. This modern-looking solution is ideal for difficult hanging surfaces (like glass, paneled walls, or brick), or for homeowners that don’t want to put holes in their walls.
3. Picture Hanging Strips. While not a good long-term solution, picture hanging, or Command strips can be useful in instances where wall art won’t be permanent, or is being attached to a dense surface like plaster or brick. These double-sided sticky strips are best for lightweight art like unframed canvas.
4. Security Brackets. Security brackets essentially “lock” art to the wall. They are a good choice for art that will be hung in a public or commercial space, like a retail store or restaurants, to prevent both theft and patrons accidentally knocking art off the wall. Security brackets are also a good choice for homes with children, for art being hung about a crib in a nursery, or for especially heavy pieces or mirrors.